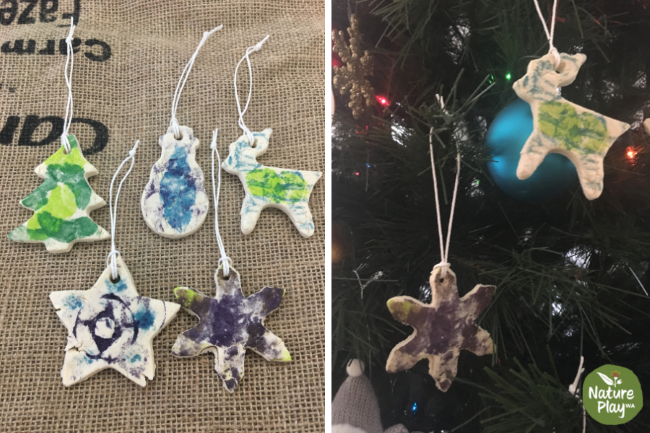
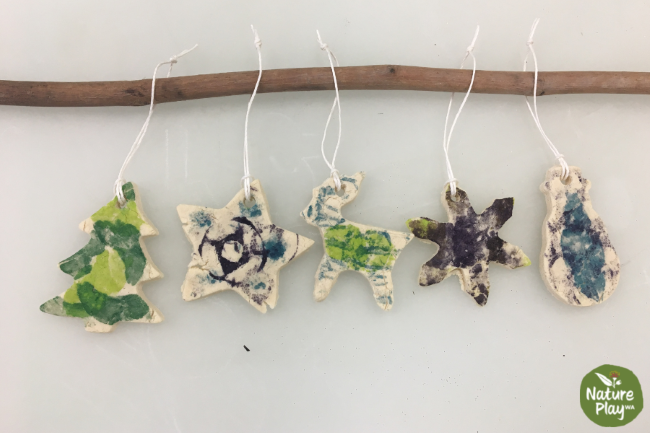
Salt Dough Ornaments
Salt dough is a great medium to work with, as it’s easy to whip up a batch, and it’s slow drying, which means small people who need a little more time with their designs don’t have to rush.
We left our batch plain coloured, but you can add food colouring to add another element to your creations.
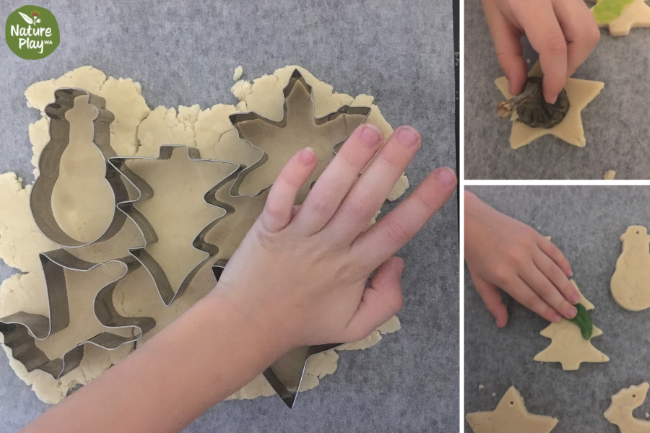
For our ornaments we used cookie cutters to form our shapes, with natural materials (leaves/sticks/flowers) and ink pads to print onto the dough. You could also press natural materials into the dough and air dry the final product, but as we oven baked ours, we went with the print-making method.
By sure to use a kitchen skewer or carving fork to pierce a hole in the top of your ornament before you bake or dry your creations, to enable threading of string through for hanging your ornament.
Materials
- 1 quantity salt dough (recipe below)
- cookie cutters
- natural elements (leaves, nuts) for imprinting
- coloured ink pads (or paint) for prints
- paint/glitter (optional)
Salt Dough Recipe
Ingredients
- 1 1/2 cups plain flour
- 1/2 cup fine table salt
- 1 tablespoon vegetable oil
- 2/3 cup chilled water
Method
Step 1: Preheat oven to 120°C. Line 2 baking trays with baking paper. Mix flour and salt in a bowl. Make a well in the centre. Pour in oil. Gradually add water, stirring mixture with a wooden spoon until combined. Turn dough onto a lightly floured surface. Knead to make a smooth ball.
Step 2: Roll dough out between 2 sheets baking paper until 7mm thick. Use Christmas-shaped cutters to cut out decorations (this is the point where we created our nature prints in our decorations with ink on leaves and gumnuts). Use a chopstick or skewer to make a hole at the top of each decoration. Place decorations on trays. Roll remaining dough together and repeat.
Step 3: Bake decorations for 2 1/2 hours or until firm and dry. Transfer to a wire rack to cool completely.
Step 4: Paint front and sides (if desired) . Allow paint to dry. Paint a second coat. While top coat is wet, sprinkle with glitter. Allow to dry. Paint back of decorations with 2 coats. Thread ribbon through holes. Hang on Christmas tree.